 So I decided that I really would love to have some cookies for Christmas. I knew that it was a lofty goal to try to find cookies that tasted like, well, cookies, but that was, in fact, the idea. I spent an ungodly amount of time surfing the interwebs and looking for candida safe cookies. Candida isn’t that well known so searching was more like listing a bunch of things that I couldn’t have. Dairy free, gluten free, sugar-free, nut free… It was quite the frustrating venture. But here I am, a few failed experiments later, emerging victorious from the unfortunate quagmire of tantalizing candida-feeding cookies.
Victorious.
So, I found the recipe on the Keto Diet App website, but I did have to modify quite a few things to make it fit the candida diet. Still, if you want to see the original, it is viewable here.
Heavenly Gingerbread Cookies
Ingredients:
- 3/4 cup coconut flour
- 3 large eggs
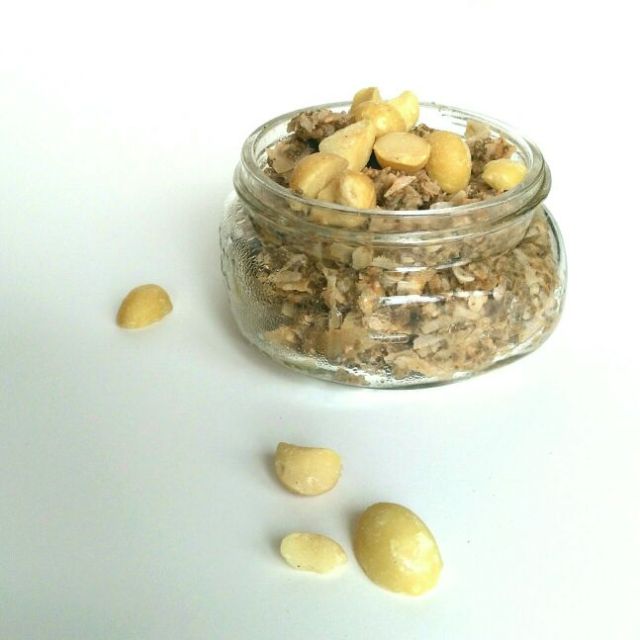
- 1/3 cup coconut butter (I use this recipe)
- 1 tsp stevia
- 1 Tbs pumpkin pie spice
- 1 tsp ground ginger
- 1 tsp ground cinnamon
- 1 tsp baking powder
- pinch of salt
- 1/4 cup of water (if the dough is too dry)
Directions:
- Mix up the dry ingredients in a medium bowl.
- Add the eggs and the coconut butter (melted) and knead with your hands.
- Slowly add the water until your dough begins to hold together (still a little dry though). Don’t add too much.
- Cover the dough and place in the fridge for 30 minutes to an hour.
- Preheat the oven to 300 F and remove the chilled dough from the fridge and place on a sheet of parchment paper. Place another sheet on top and roll out the dough to about 1/4 inch thickness.
- Use a cookie cutter to cut out as many shapes as you can fit. Place the cookies on a lined baking sheet. Repeat the rolling and cutting out until you have no more dough left.
- Brush the cookies with a beaten egg yolk. this will give them a nice shine!
- Place the cookies in the oven for about 25 minutes (or until golden brown).
Now I think these were really good just plain, but if you want to frost them you can do it with 1/4 – 1/2 cup of yogurt cheese mixed with 1/2 tsp of stevia and 1/4 tsp of vanilla. I have not tried fully frosting the cookies with this, but it is good as icing at least!
To ice your cookies like mine, place your frosting in a piping bag or a plastic Ziploc bag with the corner cut off. When you are done decorating spread the cookies on a sheet and place in the freezer for at least 2 hours. After that time you can transfer them into a container to be stored in the freezer. Bear in mind that the ‘frosting’ on these cookies will not set like real frosting so once they start to thaw, it may become a little gooey. Best to eat them cold. Straight out of the freezer as a guilty midnight snack even.
Happy Baking!
-Sara + H


 So I decided that I really would love to have some cookies for Christmas. I knew that it was a lofty goal to try to find cookies that tasted like, well, cookies, but that was, in fact, the idea. I spent an ungodly amount of time surfing the interwebs and looking for candida safe cookies. Candida isn’t that well known so searching was more like listing a bunch of things that I couldn’t have. Dairy free, gluten free, sugar-free, nut free… It was quite the frustrating venture. But here I am, a few failed experiments later, emerging victorious from the unfortunate quagmire of tantalizing candida-feeding cookies.
